Regular Cleaning After Every Use Is the Single Most Important Thing You Can Do for Your Frother's Longevity
Cleaning and maintaining an electric milk frother is straightforward, but consistency matters far more than complexity. Milk residue left inside a frother — even for a few hours — begins to dry, oxidize, and form a protein film that progressively degrades foam quality, harbors bacteria, and accelerates internal component wear. Most frother failures and performance problems reported by users trace back not to manufacturing defects but to inadequate or infrequent cleaning habits.
A well-maintained electric milk frother should last 3 to 7 years with regular home use. Neglected frothers often develop coating damage, motor strain, and foam inconsistency within 6 to 18 months. The good news is that proper cleaning takes less than two minutes per day — and a thorough deep clean adds only five to ten minutes once a week.
Daily Cleaning: What to Do After Every Single Use
The daily cleaning routine differs slightly depending on whether you own a handheld wand frother or a countertop jug-style model. Both require immediate attention after each use — do not leave milk sitting in the frother while you drink your coffee.
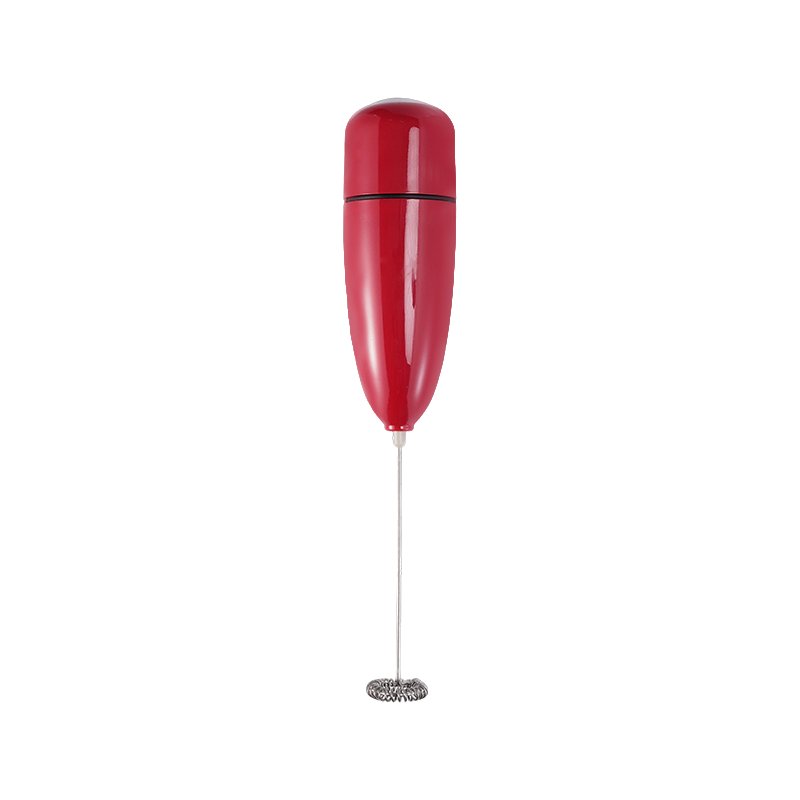
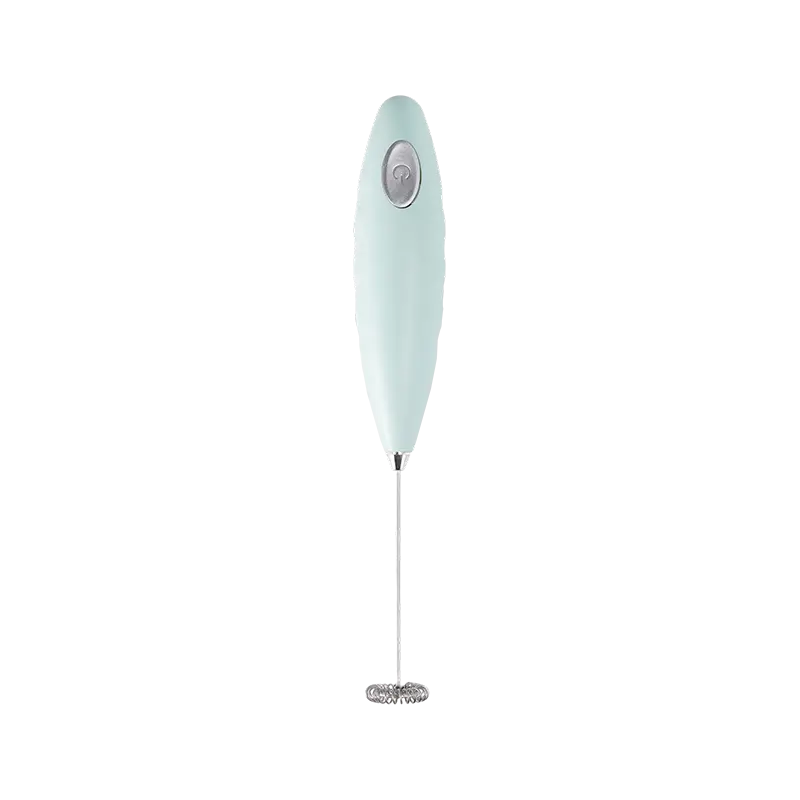
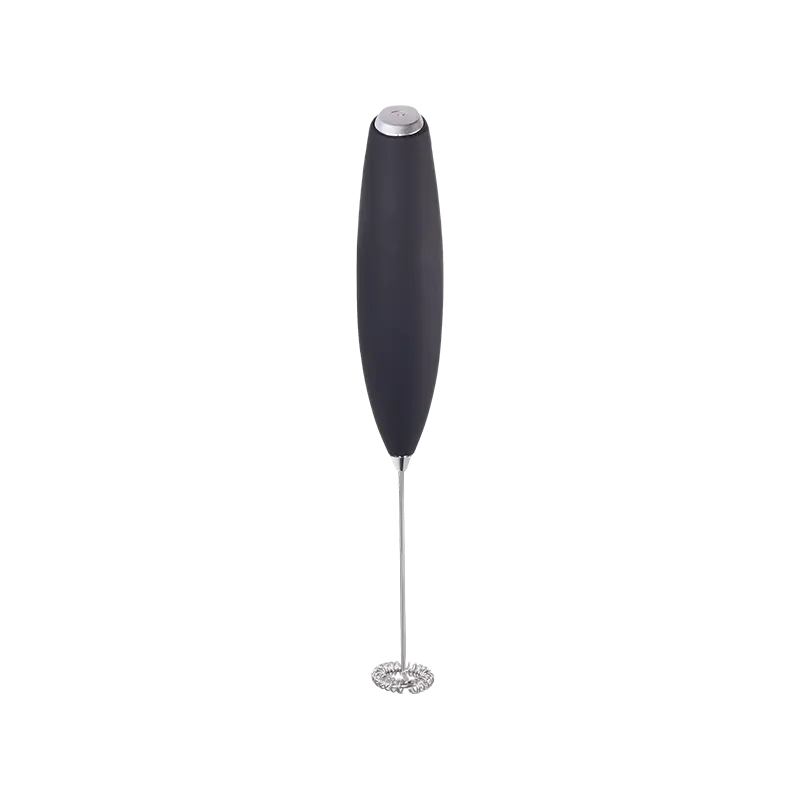
Handheld Wand Frother: Daily Routine
- Immediately after frothing, submerge the whisk coil in a cup or glass of warm clean water (not boiling).
- Run the frother at full speed for 10 to 15 seconds — the spinning action dislodges milk residue from the coil and shaft.
- Remove and wipe the coil and lower shaft dry with a clean cloth or paper towel.
- Never submerge the battery compartment or motor housing in water — wipe the upper body with a damp cloth only.
- Store upright or hanging to allow any remaining moisture to evaporate fully before the next use.
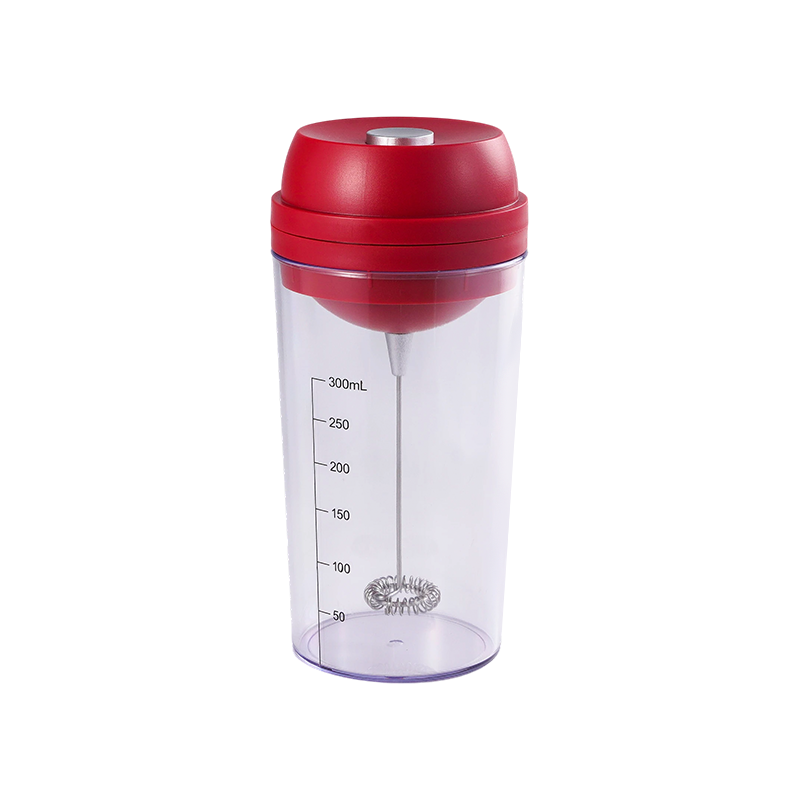
Countertop Jug Frother: Daily Routine
- Pour out any remaining milk immediately after use — never store leftover frothed milk in the jug.
- Rinse the jug with warm water while residue is still liquid and easy to remove.
- Add a small drop of mild dish soap and 1 to 2 cm of warm water to the jug.
- Run the frother through a short cycle (10–15 seconds) to clean the spinning disc and inner walls simultaneously.
- Rinse thoroughly with clean water, wipe dry, and leave the lid off to air out.
- Wipe the exterior base with a damp cloth only — never immerse the electrical base in water.
Weekly Deep Clean: Removing Milk Film and Mineral Buildup
Even with daily rinsing, a thin protein film gradually builds up on internal surfaces, and in areas with hard water, mineral scale from calcium and magnesium deposits accumulates on heating elements and jug walls. A weekly deep clean addresses both issues before they affect performance.
Removing Milk Protein Film
Plain water does not dissolve dried milk protein effectively. Use one of the following approaches once a week:
- Warm soapy soak: Fill the jug with warm water and a few drops of dish soap, let it soak for 5 to 10 minutes, then scrub gently with a soft non-abrasive sponge and rinse thoroughly
- Milk frother cleaning tablets: Products such as Urnex Rinza or brand-specific tablets dissolve in warm water inside the jug and chemically break down milk protein residue in 3 to 5 minutes with no scrubbing required
- Baking soda paste: Mix 1 teaspoon of baking soda with a small amount of water to form a paste, apply to the interior with a soft cloth, let sit for 2 minutes, then rinse — effective and chemical-free
Descaling to Remove Mineral Scale
In hard water areas (water hardness above 200 ppm / 11 gpg), descaling every 2 to 4 weeks is recommended for countertop frothers with heating elements. Scale reduces heating efficiency, extends warming time, and can eventually damage the heating coil.
- White vinegar method: Fill the jug with equal parts white vinegar and water, run a full heat cycle, let the solution sit for 10 to 15 minutes, then discard and rinse with clean water twice to remove vinegar odor
- Citric acid solution: Dissolve 1 teaspoon of citric acid powder in 200ml of warm water, run through the frother, soak for 5 minutes, and rinse thoroughly — more effective than vinegar with less residual odor
- Commercial descaler tablets: Follow manufacturer instructions — most dissolve in water, run through a heat cycle, and rinse out cleanly
Cleaning Schedule Summary by Frother Type
| Task |
Handheld Wand |
Countertop Jug |
Frequency |
| Rinse coil / jug with warm water |
yes |
yes |
After every use |
| Spin-clean in water (wand) |
yes |
no |
After every use |
| Soap cycle (jug) |
no |
yes |
Daily |
| Wipe exterior body |
yes |
yes |
Daily |
| Deep clean with soak or tablets |
yes |
yes |
Weekly |
| Descale heating element |
no |
yes |
Every 2–4 weeks |
| Inspect coil / disc for damage |
yes |
yes |
Monthly |
| Replace whisk / spinning disc |
yes |
yes |
Every 12–18 months |
Recommended cleaning and maintenance schedule for handheld and countertop electric milk frothers
What Never to Do: Cleaning Mistakes That Damage Frothers
Several common cleaning habits actively shorten a frother's lifespan or void the manufacturer warranty. Avoid these consistently:
- Submerging electrical components in water: The motor housing of a wand frother and the induction base of a countertop model are never waterproof — immersion causes irreversible electrical damage
- Using abrasive scrubbers or steel wool: These scratch the non-stick or stainless interior coating of jug frothers, making protein adhesion worse over time and potentially introducing metal particles into your drinks
- Dishwasher cleaning of non-rated parts: Unless the manufacturer explicitly states dishwasher-safe, high heat and aggressive detergents in dishwashers degrade seals, coatings, and plastic components — even if they appear unaffected initially
- Leaving milk to dry before cleaning: Dried milk protein bonds to surfaces and requires significantly more effort and harsher chemicals to remove — a 30-second rinse immediately after use prevents hours of scrubbing later
- Using boiling water for cleaning: Temperatures above 85°C (185°F) can warp plastic components and degrade rubber seals inside the frother mechanism
- Harsh chemical cleaners: Bleach, strong degreasers, and solvent-based cleaners can damage internal coatings and leave residues that contaminate subsequent drinks — stick to dish soap, white vinegar, citric acid, or dedicated frother tablets
Maintenance Beyond Cleaning: Parts That Wear and Need Replacing
Cleaning keeps a frother hygienic and performing well, but certain mechanical components wear over time regardless of how carefully the device is cleaned. Recognizing when to replace these parts — rather than replacing the entire frother — can extend the appliance's useful life by 2 to 4 years.
Whisk Coil (Handheld Wand)
The spinning coil on a handheld frother is a consumable part. With daily use, the wire can become misshapen, corroded, or loose at its attachment point — all of which reduce frothing efficiency. Replace the coil every 12 to 18 months or sooner if foam volume noticeably decreases. Most brand-name frothers sell replacement coils for $3 to $8, making this a very cost-effective repair.
Spinning Disc or Whisk Attachment (Countertop Jug)
The magnetic spinning disc inside a jug frother can develop surface corrosion or lose magnetic coupling strength over time. Signs of disc wear include longer frothing times, weaker foam, or audible grinding during operation. Replacement discs for popular models like the Nespresso Aeroccino or Breville Milk Café typically cost $8 to $20 and restore full performance immediately.
Non-Stick Coating
Many countertop frother jugs feature a non-stick interior coating that prevents milk from scorching onto the walls. Once this coating begins to peel or scratch — usually after 2 to 4 years with regular use — the jug itself should be replaced even if the base unit still functions. Damaged non-stick coatings harbor bacteria and can flake particles into drinks.
Batteries (Handheld Wand)
Battery-powered wand frothers that use AA or AAA batteries will show reduced RPM as batteries drain — producing weaker foam before any obvious sign of battery failure. Replace batteries proactively every 2 to 3 months with daily use rather than waiting for the frother to stop entirely. USB-rechargeable wand frothers avoid this issue and are worth the slight premium for frequent users.
Storage Tips That Protect Your Frother Between Uses
How and where you store an electric milk frother between uses affects its longevity as much as the cleaning routine itself:
- Always store completely dry: Moisture trapped inside a jug or around a coil encourages mold growth and metal corrosion — air-dry fully before storing with any lids or caps on
- Keep away from steam-heavy areas: Storing a frother directly next to a kettle or above a dishwasher exposes it to repeated steam and humidity cycles that degrade electrical components over time
- Store handheld wands vertically: Horizontal storage can cause residual moisture to migrate toward the motor housing — a small hook mount or upright stand keeps the coil end down and protected
- Do not wrap the power cord tightly: For countertop models with a fixed cord, avoid wrapping it tightly around the base — over time this stresses the cord at the connection point and can cause internal wire damage
- Remove batteries if storing long-term: If you will not use a battery-powered wand frother for more than two weeks, remove the batteries to prevent corrosion from leakage inside the compartment
Signs Your Frother Needs Attention Right Away
Catching problems early prevents minor maintenance issues from becoming terminal failures. Watch for these warning signs:
- Foam volume has decreased noticeably — likely cause: worn whisk coil, weak batteries, or milk protein buildup on the spinning mechanism; solution: deep clean and inspect coil
- Milk takes longer than usual to heat — likely cause: scale buildup on the heating element; solution: immediate descaling cycle
- Unusual grinding or rattling noise — likely cause: damaged spinning disc or foreign debris inside the jug; solution: inspect and replace disc if damaged
- Burnt or sour milk smell — likely cause: dried milk residue on the heating element; solution: deep clean immediately with citric acid or descaling tablets
- Visible discoloration or dark spots inside the jug — likely cause: scorched milk or mold; solution: deep clean with baking soda paste; replace jug if staining persists after cleaning


 English
 русский
 Español
 Deutsch
 عربى
عربى 中文简体
中文简体



 Custom Automatic Electric Milk Frother Manufacturers