

 English
 русский
 Español
 Deutsch
 عربى
عربى 中文简体
中文简体
The dimensions of this bottle opener are only 10.5 centimeters wide, 7.5 centimeters deep, and 28.8 centimeters high, presenting a slender and upright...
See Details

How to Steam Milk for a Latte: The Complete Step-by-Step Guide to Silky Microfoam
Content
- 1 Why Steaming Method Matters for a Latte
- 2 What You Need to Steam Milk for a Latte
- 3 How to Steam Milk for a Latte, Step by Step
- 4 Temperature and Texture: The Two Things to Watch
- 5 Common Steaming Mistakes and How to Fix Them
- 6 No Steam Wand? Use a Milk Frother Instead
- 7 Cleaning Your Steam Wand and Frother
Your espresso is ready. The milk, however, came out bubbly and thin twice this week. The issue is not the milk; it is the way the steam wand interacts with it. When you steam milk for a latte, you are adding air to create foam and heating the milk so that foam becomes stable. The correct sequence is a short, controlled aeration followed by a longer swirling phase. Done well, this produces a glossy, paint-like microfoam that pours into espresso and holds a clean line of latte art.
Why Steaming Method Matters for a Latte
A latte is defined by a thin layer of velvety microfoam, not a stiff foam cap. That is why steaming a latte is different from steaming a cappuccino. In a cappuccino, you stretch the milk longer to build more foam; in a latte, the stretching phase is shorter, and most of the time is spent mixing the foam with the liquid milk.
Milk is about 87% water, with protein and fat doing the heavy lifting. Heat causes the proteins to partially unfold and form a flexible film around air bubbles. Fat adds flavor and helps stabilize the bubbles, but too much heat breaks that film. This is why temperature control is critical. Whole milk usually produces the creamiest result, while lower-fat milk can create larger bubbles if over-stretched. Knowing your milk's behavior helps you decide when to stop stretching and start heating.
What You Need to Steam Milk for a Latte
You do not need a commercial machine. A home espresso machine with a steam wand, cold milk, and a stainless steel pitcher are enough. The pitcher should be filled only one-third to one-half full, because the milk will expand as it aerates. A 12-ounce pitcher is a comfortable size for a single latte; a larger pitcher gives more room for a whirlpool but can make it harder to judge volume.
- Cold milk, preferably whole milk or a barista blend, kept in the fridge until you steam it.
- A stainless steel pitcher with a pointed spout and enough capacity for the volume you plan to make.
- A clean, damp towel for wiping the steam wand.
- Optional: a thermometer or temperature strip if you want to be precise.
Cold milk matters. Warmer milk will already have less protein structure, so it takes less air and can end up thin. Start with cold milk straight from the refrigerator.
How to Steam Milk for a Latte, Step by Step
- Purge the steam wand. Turn the steam on briefly before inserting the tip into milk. This clears condensed water from the wand so it cannot dilute the milk.
- Submerge the tip just below the surface. Place the tip near the edge of the pitcher at about a three o'clock position and tilt the pitcher slightly.
- Open the steam valve fully. You want a quiet hissing sound, like paper tearing. If you hear loud gurgling, the tip is too deep; if milk splashes, the tip is too shallow.
- Stretch the milk for 2 to 5 seconds. During this phase, the milk volume will rise by about 25%. Stop stretching when the pitcher feels lightly warm to the touch, around 90 to 100 degrees Fahrenheit.
- Lower the tip just below the surface and tilt the pitcher to create a whirlpool. This folds the newly formed bubbles into the milk and breaks down larger bubbles into fine ones.
- Heat the milk to around 150 degrees Fahrenheit. The whirlpool should keep the milk moving continuously. A thermometer is the most reliable way, but you can also stop when the pitcher becomes uncomfortably hot to hold on the side.
- Turn off the steam and remove the wand. Tap the pitcher firmly on the counter to pop any remaining large bubbles, then swirl the milk until it looks glossy and has a paint-like consistency.
- Pour immediately. Swirl once more, then pour into the center of the espresso, moving the pitcher closer to the cup as the foam begins to slide out.
The exact timing depends on your machine's steam pressure. A high-powered commercial wand may stretch in 2 seconds; a small home machine may need 5 seconds. Learn to use the sound and the pitcher temperature rather than a fixed recipe.
Temperature and Texture: The Two Things to Watch
Temperature is the simplest way to avoid common steaming failures. Under 130 degrees Fahrenheit, the milk is not sufficiently sweet and the foam feels flat. Between 140 and 155 degrees, the foam is silky and integrates well with espresso, which is ideal for a latte. Above 160 degrees, the milk proteins break down and the foam collapses, leaving a thin, scalded liquid.
| Temperature | Texture | Use |
|---|---|---|
| 130-140°F (54-60°C) | Thin, pourable foam | Flat white or a lighter latte |
| 140-155°F (60-68°C) | Smooth microfoam | Classic latte |
| Above 160°F (71°C) | Scalded milk, coarse bubbles | Avoid |
Notice that the sweet spot is not very wide. Once the pitcher reaches the target temperature, the steaming process has to end. Many beginners overheat because they watch only the texture and forget temperature.
Common Steaming Mistakes and How to Fix Them
- Wand tip too deep: you hear a dull gurgle and the milk expands very little. Fix: raise the tip so it sits just below the surface.
- Wand tip too shallow: milk splashes and creates large bubbles. Fix: submerge the tip again until only a gentle hiss remains.
- No whirlpool: the milk forms a separate foam layer on top instead of a uniform microfoam. Fix: angle the pitcher and place the wand off-center to create rotation.
- Over-stretching: the foam becomes stiff and thick, more like a cappuccino. Fix: shorten the aeration phase and spend more time in the swirling phase.
- Setting the pitcher down before pouring: the foam separates from the milk. Fix: swirl the pitcher for a few seconds immediately before pouring and pour within 15 to 30 seconds.
One additional mistake is to assume that a latte needs thick foam. It does not. If you can spoon the foam off the top, you stretched too long. The goal is to have the foam poured naturally with the milk, not spooned above it.
No Steam Wand? Use a Milk Frother Instead
If your espresso machine does not have a steam wand, or you only make one latte at a time, a handheld milk frother is the easiest alternative. It creates foam by spinning a small whisk very quickly, which draws air into the milk and breaks the bubbles into fine texture. For a single serving, a battery-powered handheld milk frother is compact, quiet, and easy to clean.
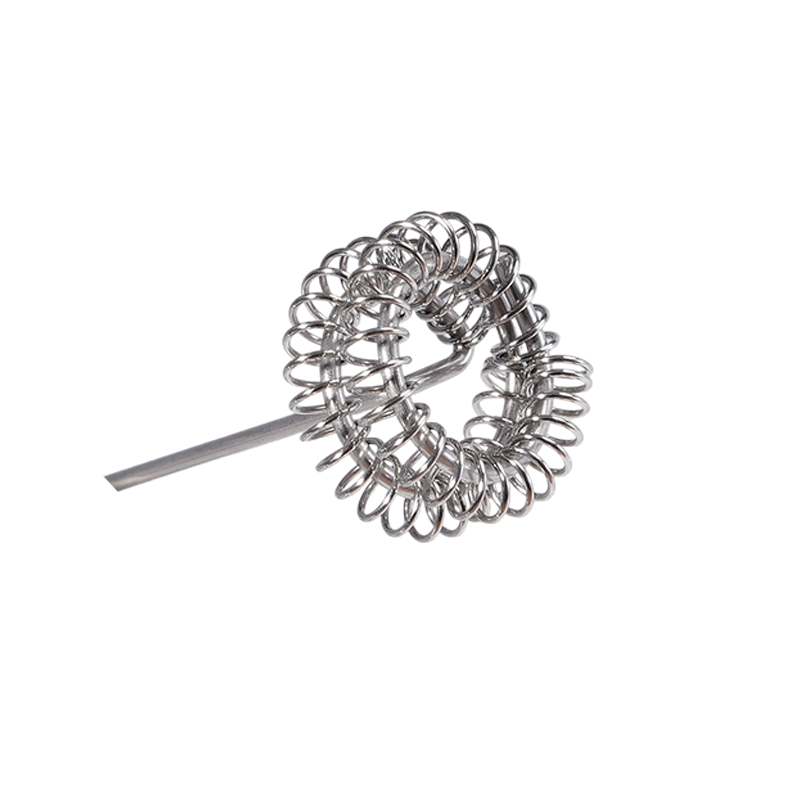 Wholesale Kitchen handheld electric milk frother Factory, Suppliers - Hangzhou SHangzhou Shengrong Trading Co., Ltd is China wholesale Kitchen handheld electric milk frother suppliers and factory, details:The Kitchen ...View Product →
If you want more control over foam thickness, a USB rechargeable three-speed milk frother lets you switch between a gentle stirring action and a faster frothing speed. To understand the practical differences between battery and USB models, read our guide to battery versus USB rechargeable milk frothers. You can also explore the complete electric milk frother range to find one that matches the size and style of your home setup.
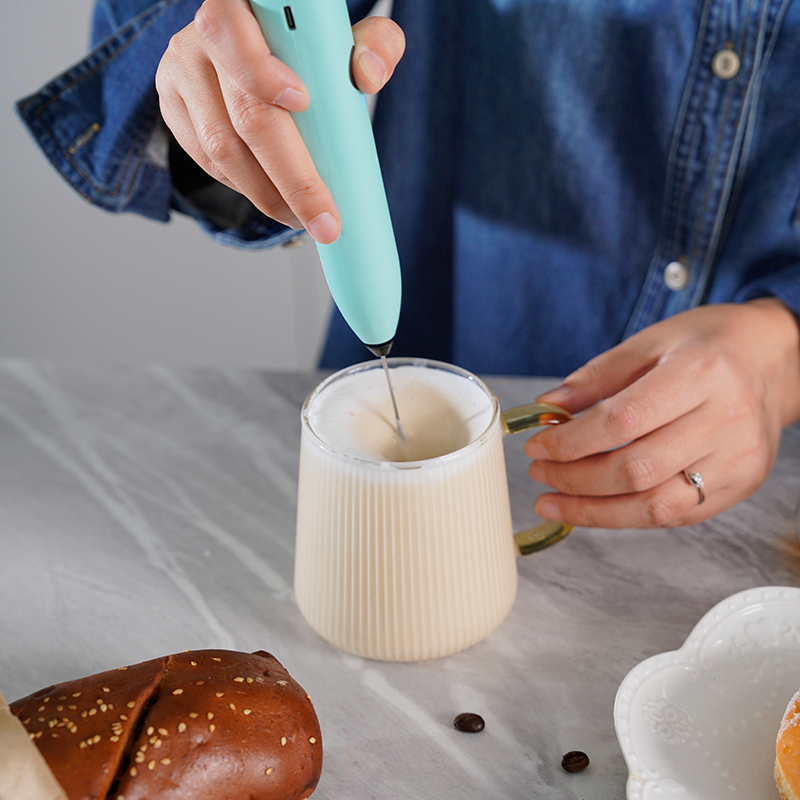 Wholesale USB rechargeable 3-speed milk frother Factory, Suppliers - Hangzhou ShHangzhou Shengrong Trading Co., Ltd is China wholesale USB rechargeable 3-speed milk frother suppliers and factory, details:The unit size...View Product →
Milk frothers do not heat milk by themselves. To get a warm latte, heat the milk to about 140 degrees Fahrenheit in a microwave or saucepan before frothing, then use the frother to incorporate air. This still gives you a comparable microfoam for a latte, though without the same integrated texture that a steam wand provides during heating.
Cleaning Your Steam Wand and Frother
Milk residue hardens quickly and is difficult to remove later. After every steaming session, wipe the steam wand tip with a damp towel and then purge the steam for a second. This keeps the wand clear for the next use and prevents any off-flavor from lingering. If you used an electric milk frother, rinse the whisk and the container with warm water immediately after use. A short soak helps if milk has dried on the whisk.
Mastering steamed milk for a latte comes down to three controls: air, heat, and time. Stretch briefly, heat with a whirlpool, and stop at about 150 degrees Fahrenheit. Keep the routine consistent, and you will pour silky lattes at home without thinking about it.
Related products
-
-
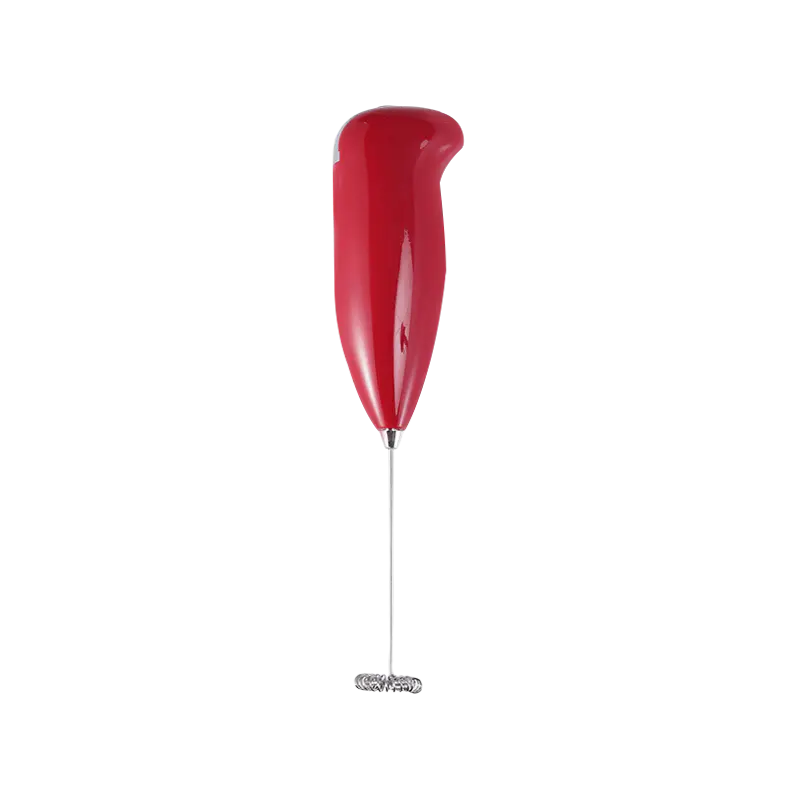
One of the most prominent features of this coffee stirrer is its automatic rotating stirring mechanism. The stirrer is powered by two AA batteries, an...
See Details -
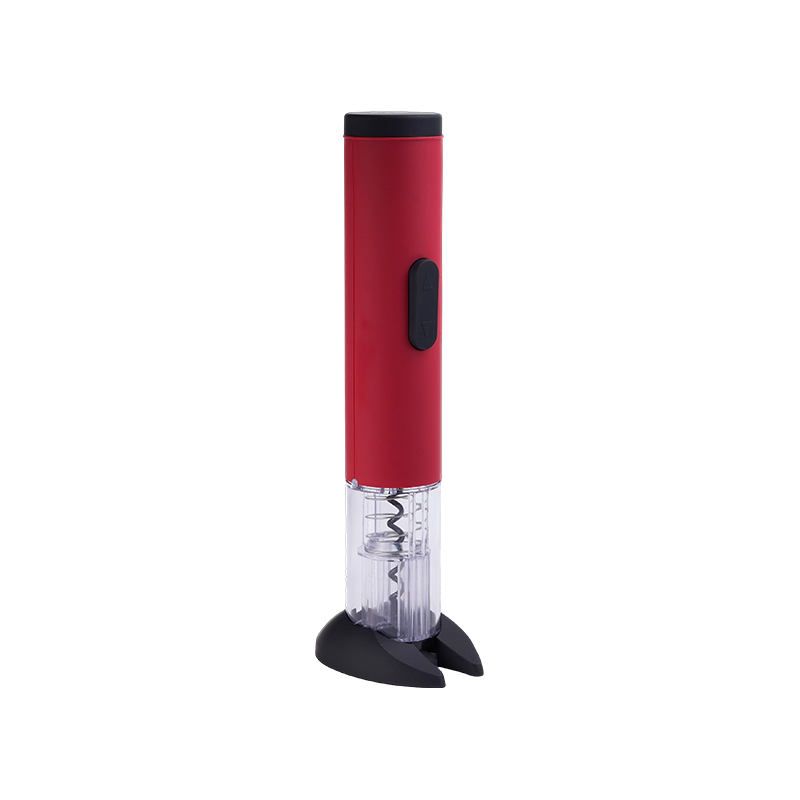
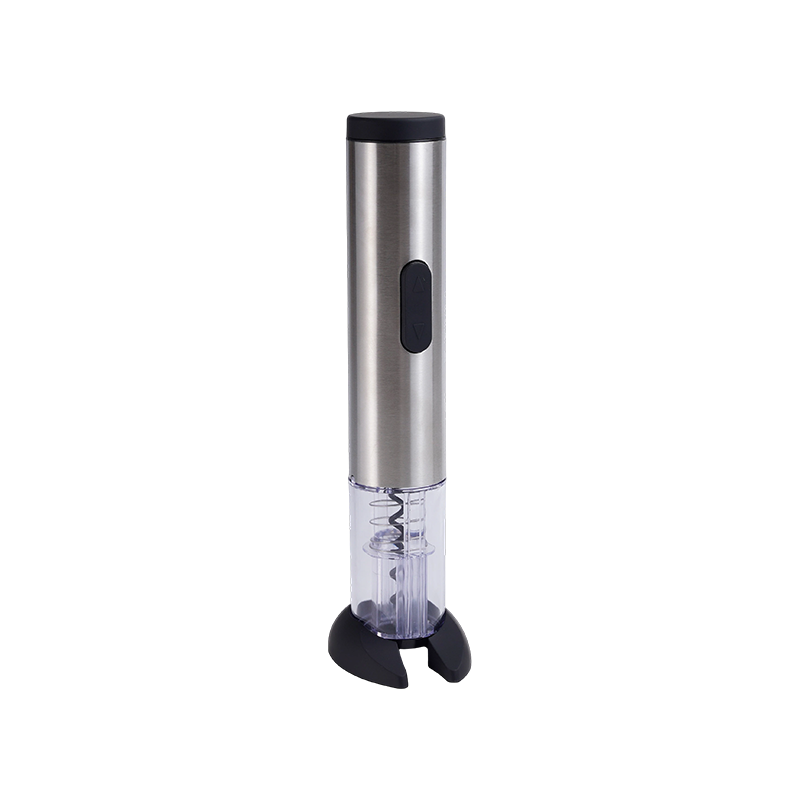
The Rechargeable Portable Multifunctional Electric Automatic Bottle Opener supports bidirectional rotation without the need for manual rotation or for...
See Details -
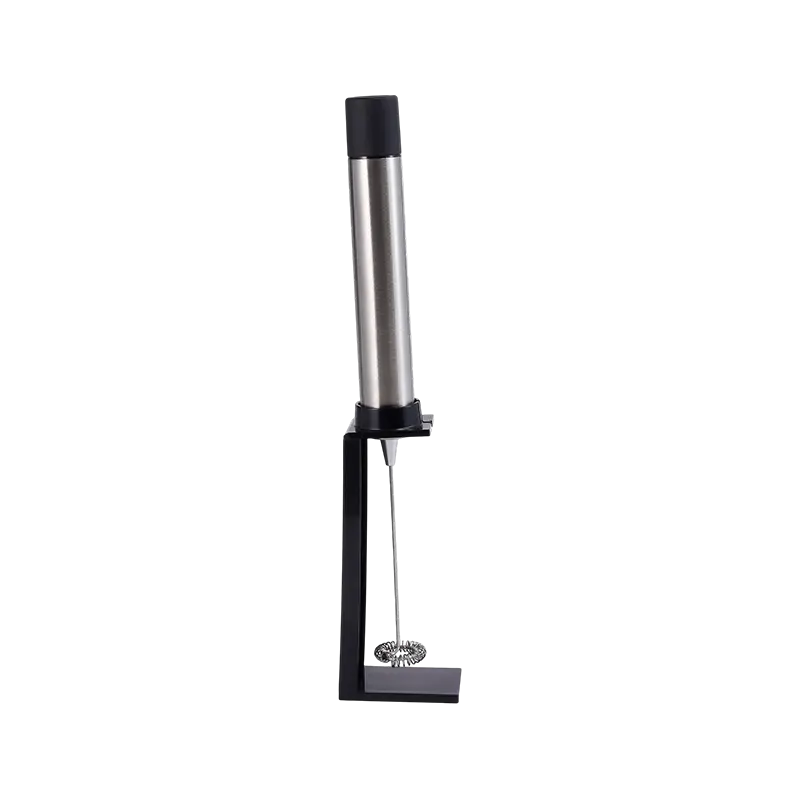
The stainless steel automatic electric milk frother with base measures 4x4x28 cm and weighs 62 grams, making it compact and portable. The outer carton...
See Details -
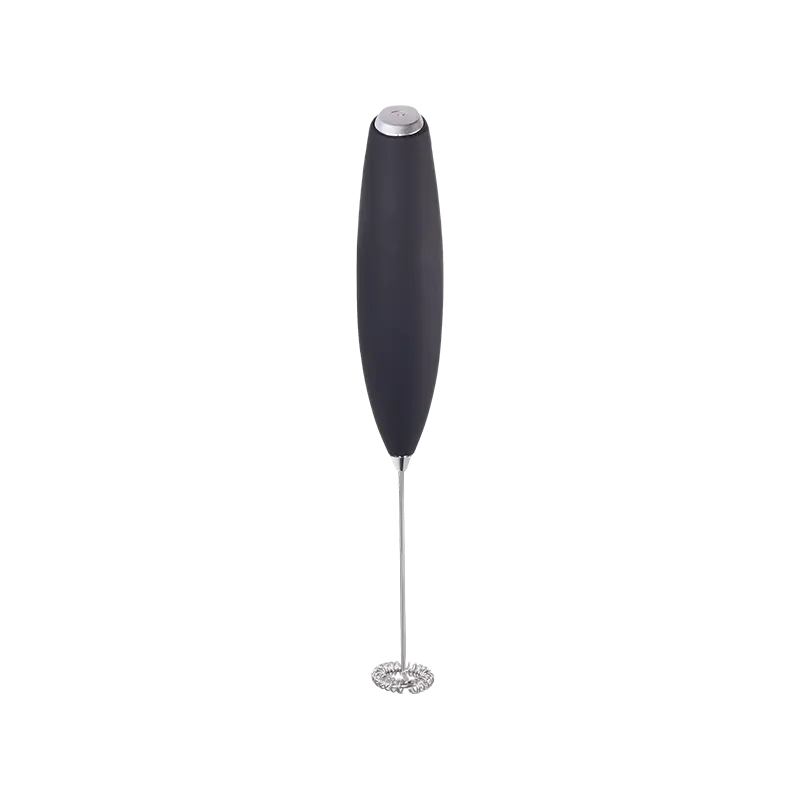
The Battery Powered Coffee Milk Drink Electric Whisk Mixer features a sleek and compact design, measuring just 3.7 x 3.2 x 23 cm, making it easy to ca...
See Details -
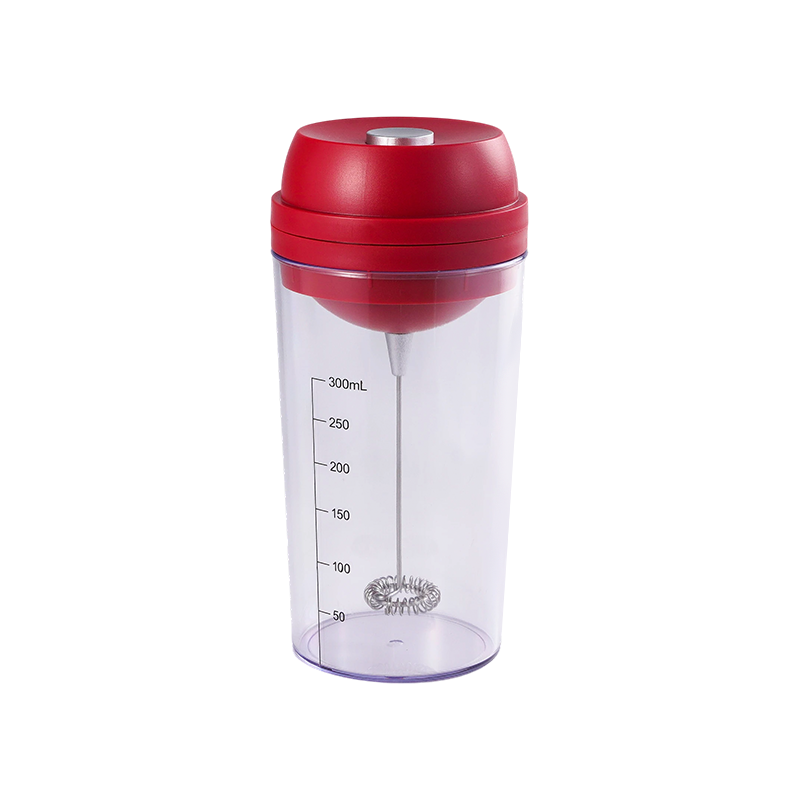
This dual-function device combines egg whisking and milk frothing, allowing users to seamlessly switch between tasks without using multiple devices. I...
See Details
News
-
On a quiet Saturday morning, you want a cappuccino, not a cup of drip coffee. You do not need an es...
READ MORE -
To properly use an electric salt and pepper mill, fill the chamber with the correct type of salt or...
READ MORE -
To properly use an electric wine opener, charge or insert batteries first, place the device upright...
READ MORE -
What to Look for First If you want the fast recommendation: choose an electric milk frother with bo...
READ MORE
If you are interested in our products, please consult us
-
Product
Electric Milk Frother Electric Salt & Pepper Mill Manual Salt & Pepper Mill Electric Wine Opener -
Quick Links
About Us Products Service FAQ News -
Contact Information
Room 1704, Building 4, Zhenaoyuan, Xixing Street, Binjiang District, Hangzhou City, Zhejiang Province, China+86-13429230897 -

Copyright © Hangzhou Shengrong Trading Co., Ltd. All Rights Reserved.
 Custom Automatic Electric Milk Frother Manufacturers
Custom Automatic Electric Milk Frother Manufacturers